Reynosa
- Regular price
-
$14 - Regular price
-
- Sale price
-
$14
Couldn't load pickup availability
PRODUCT DETAILS
Make a statement!
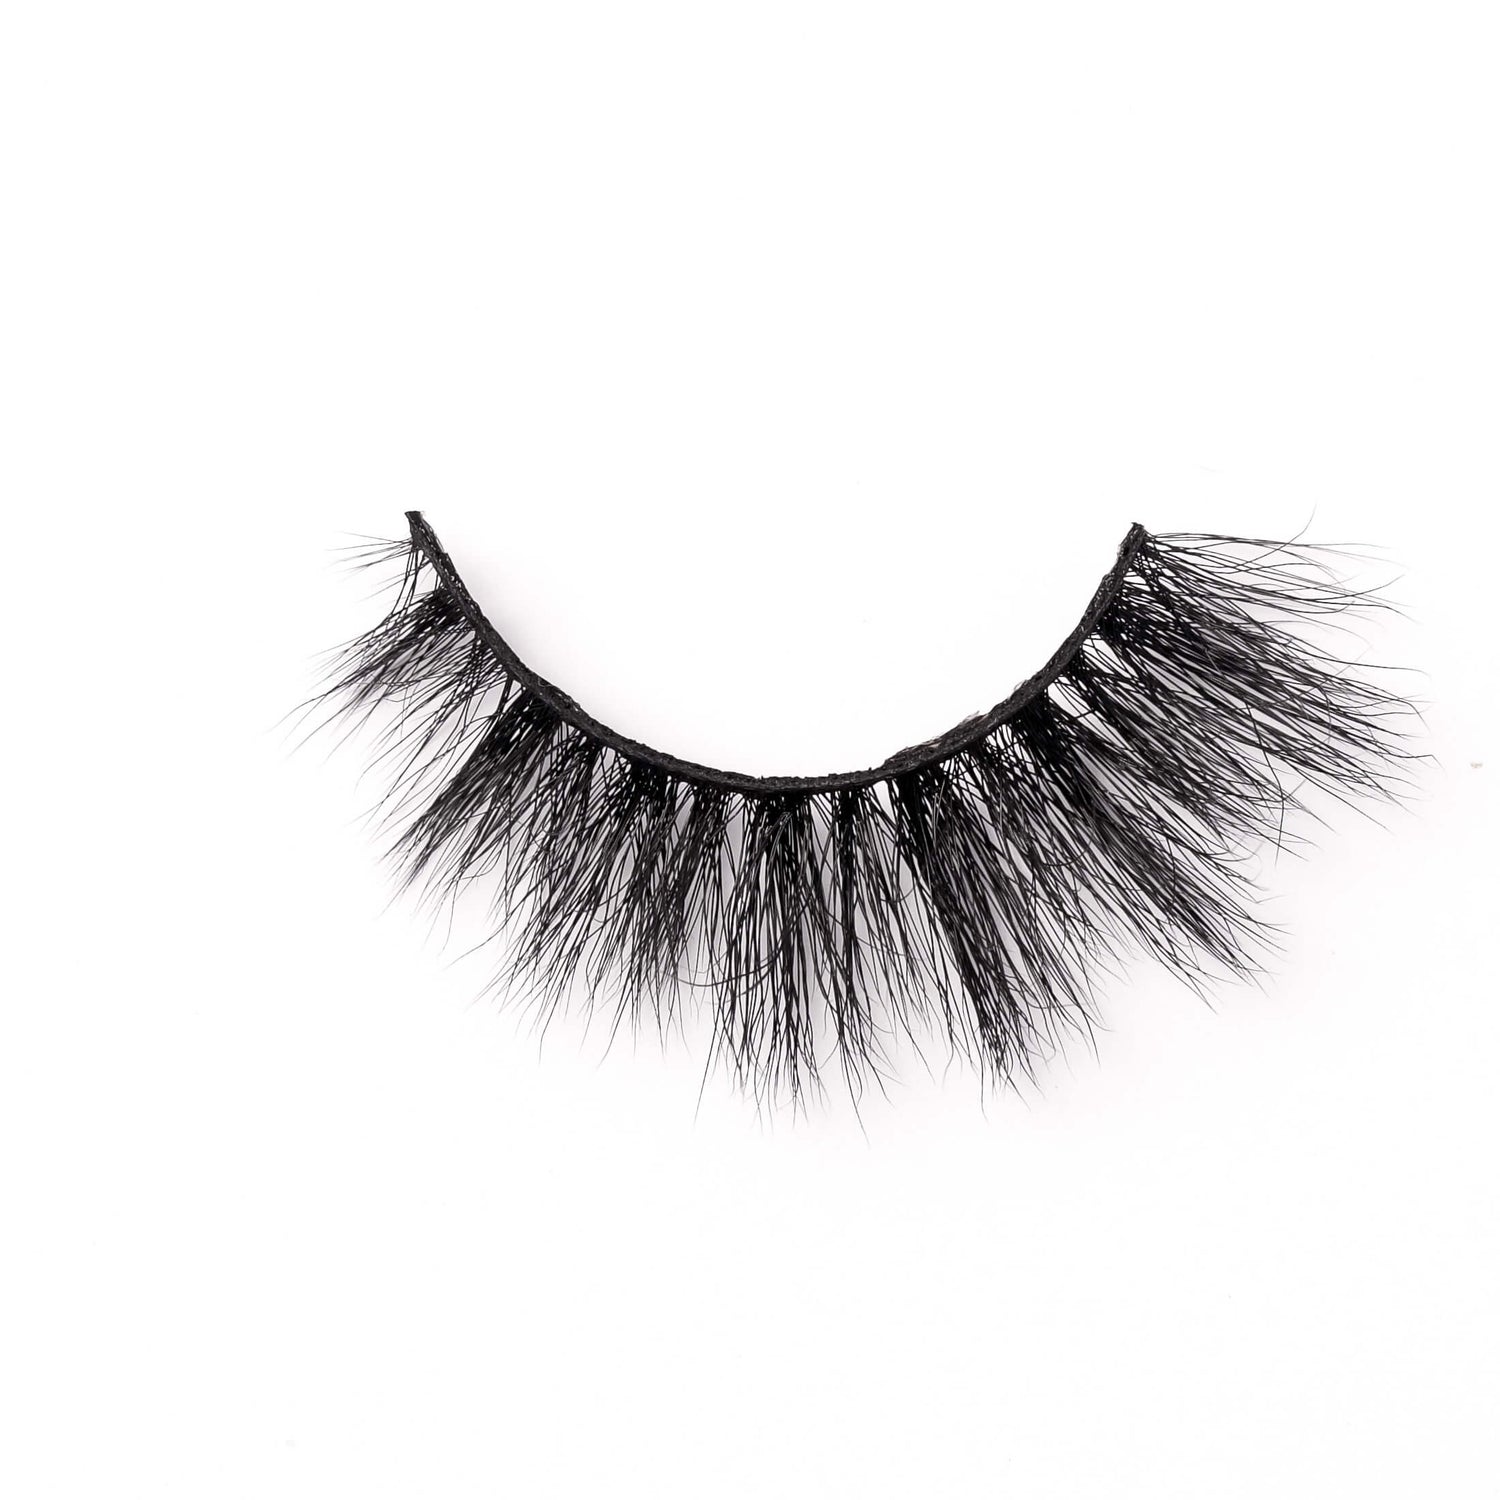
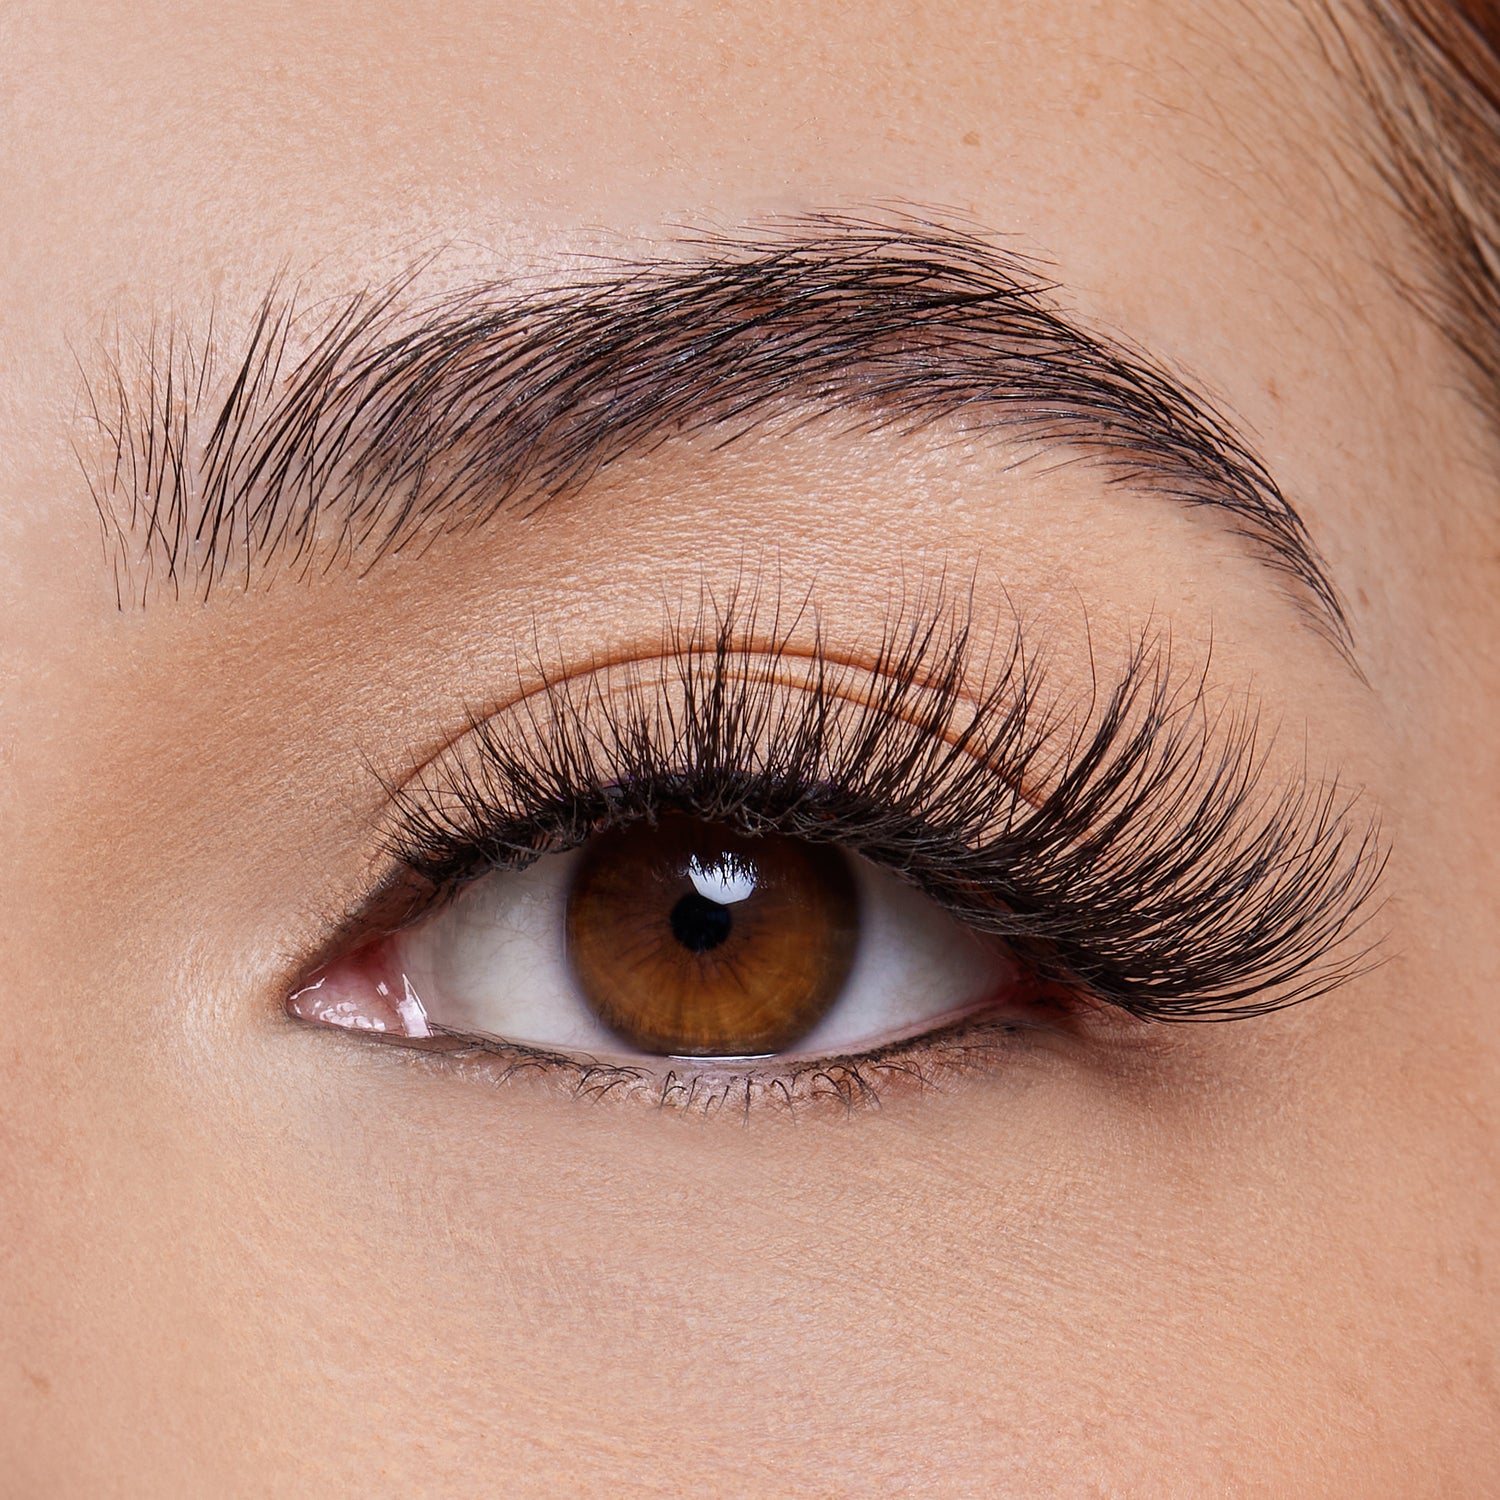
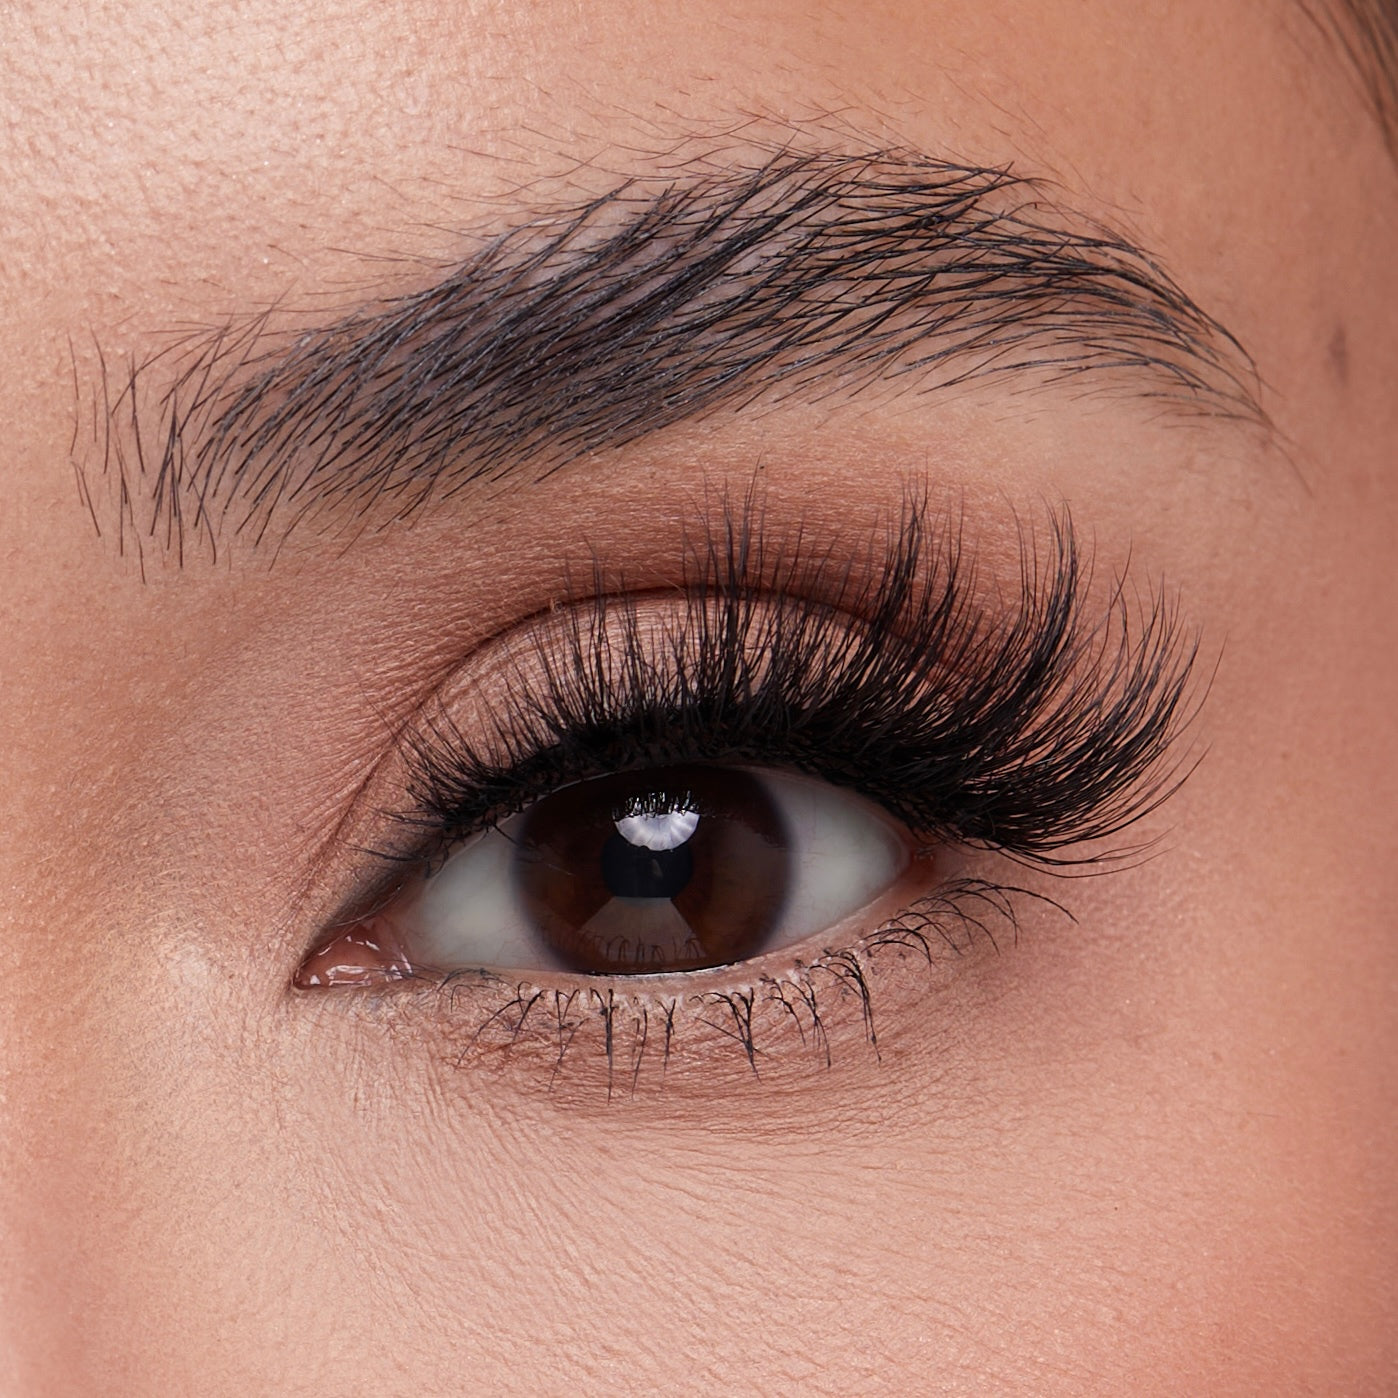
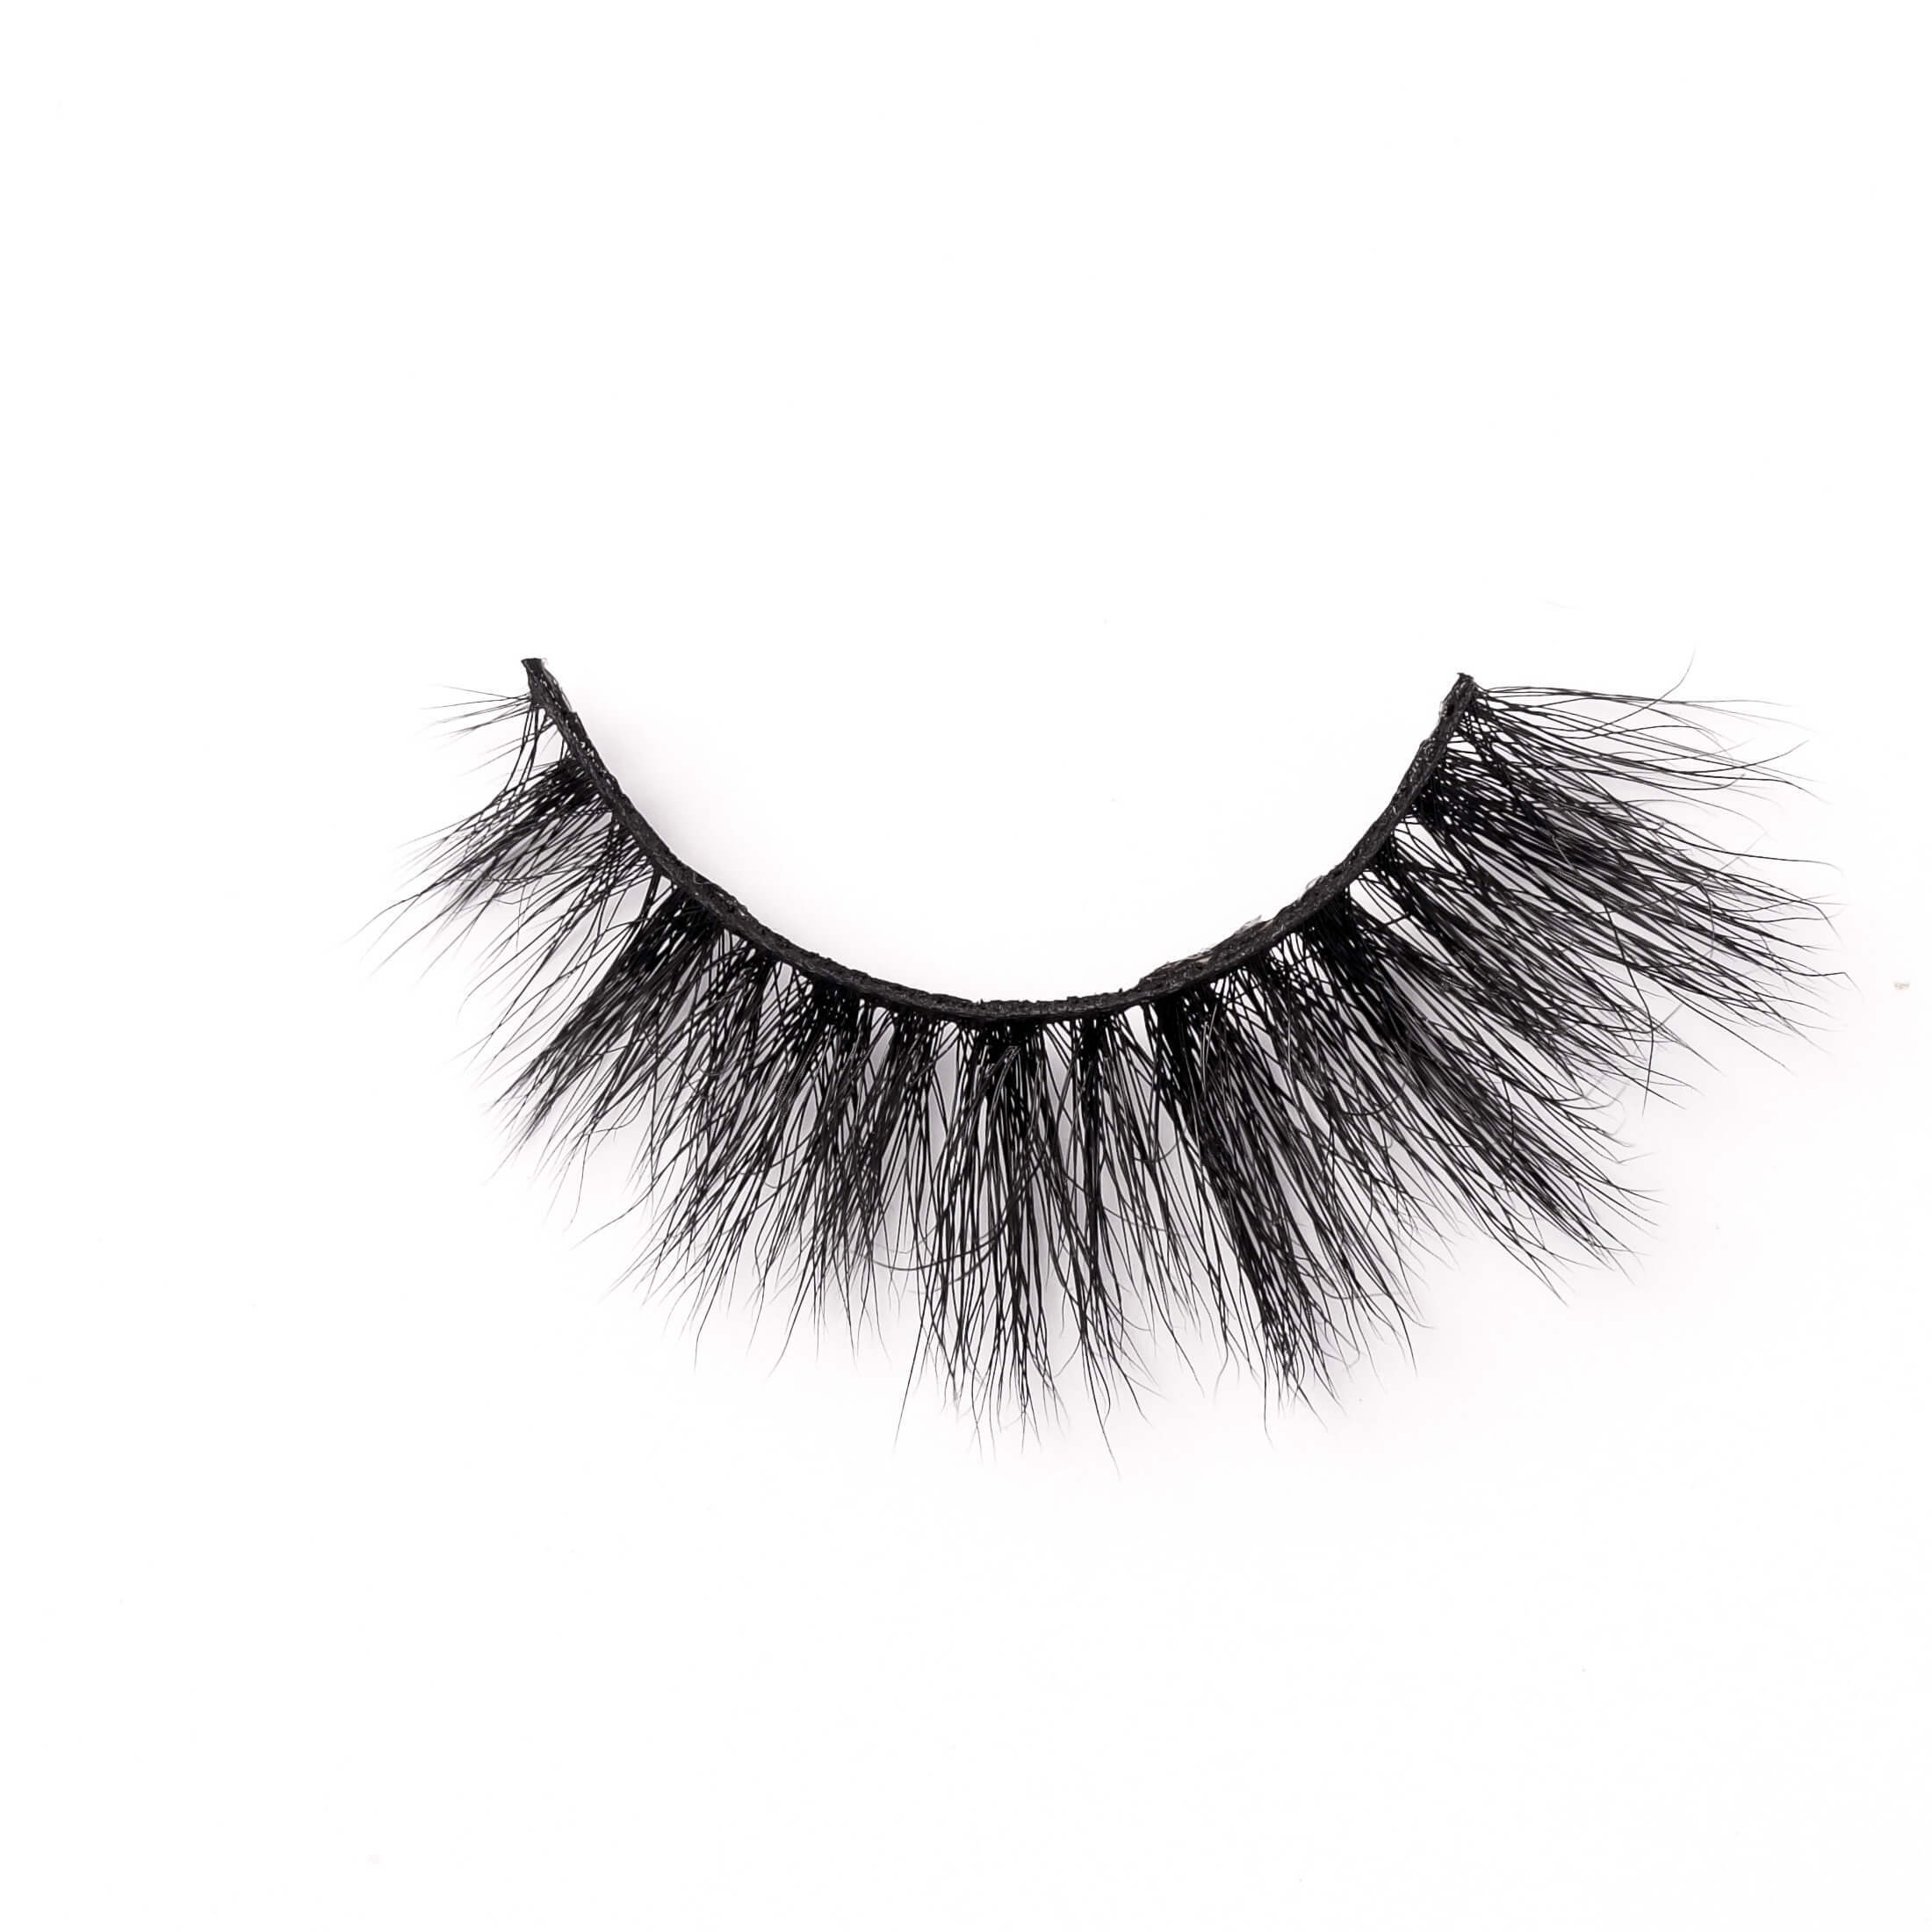
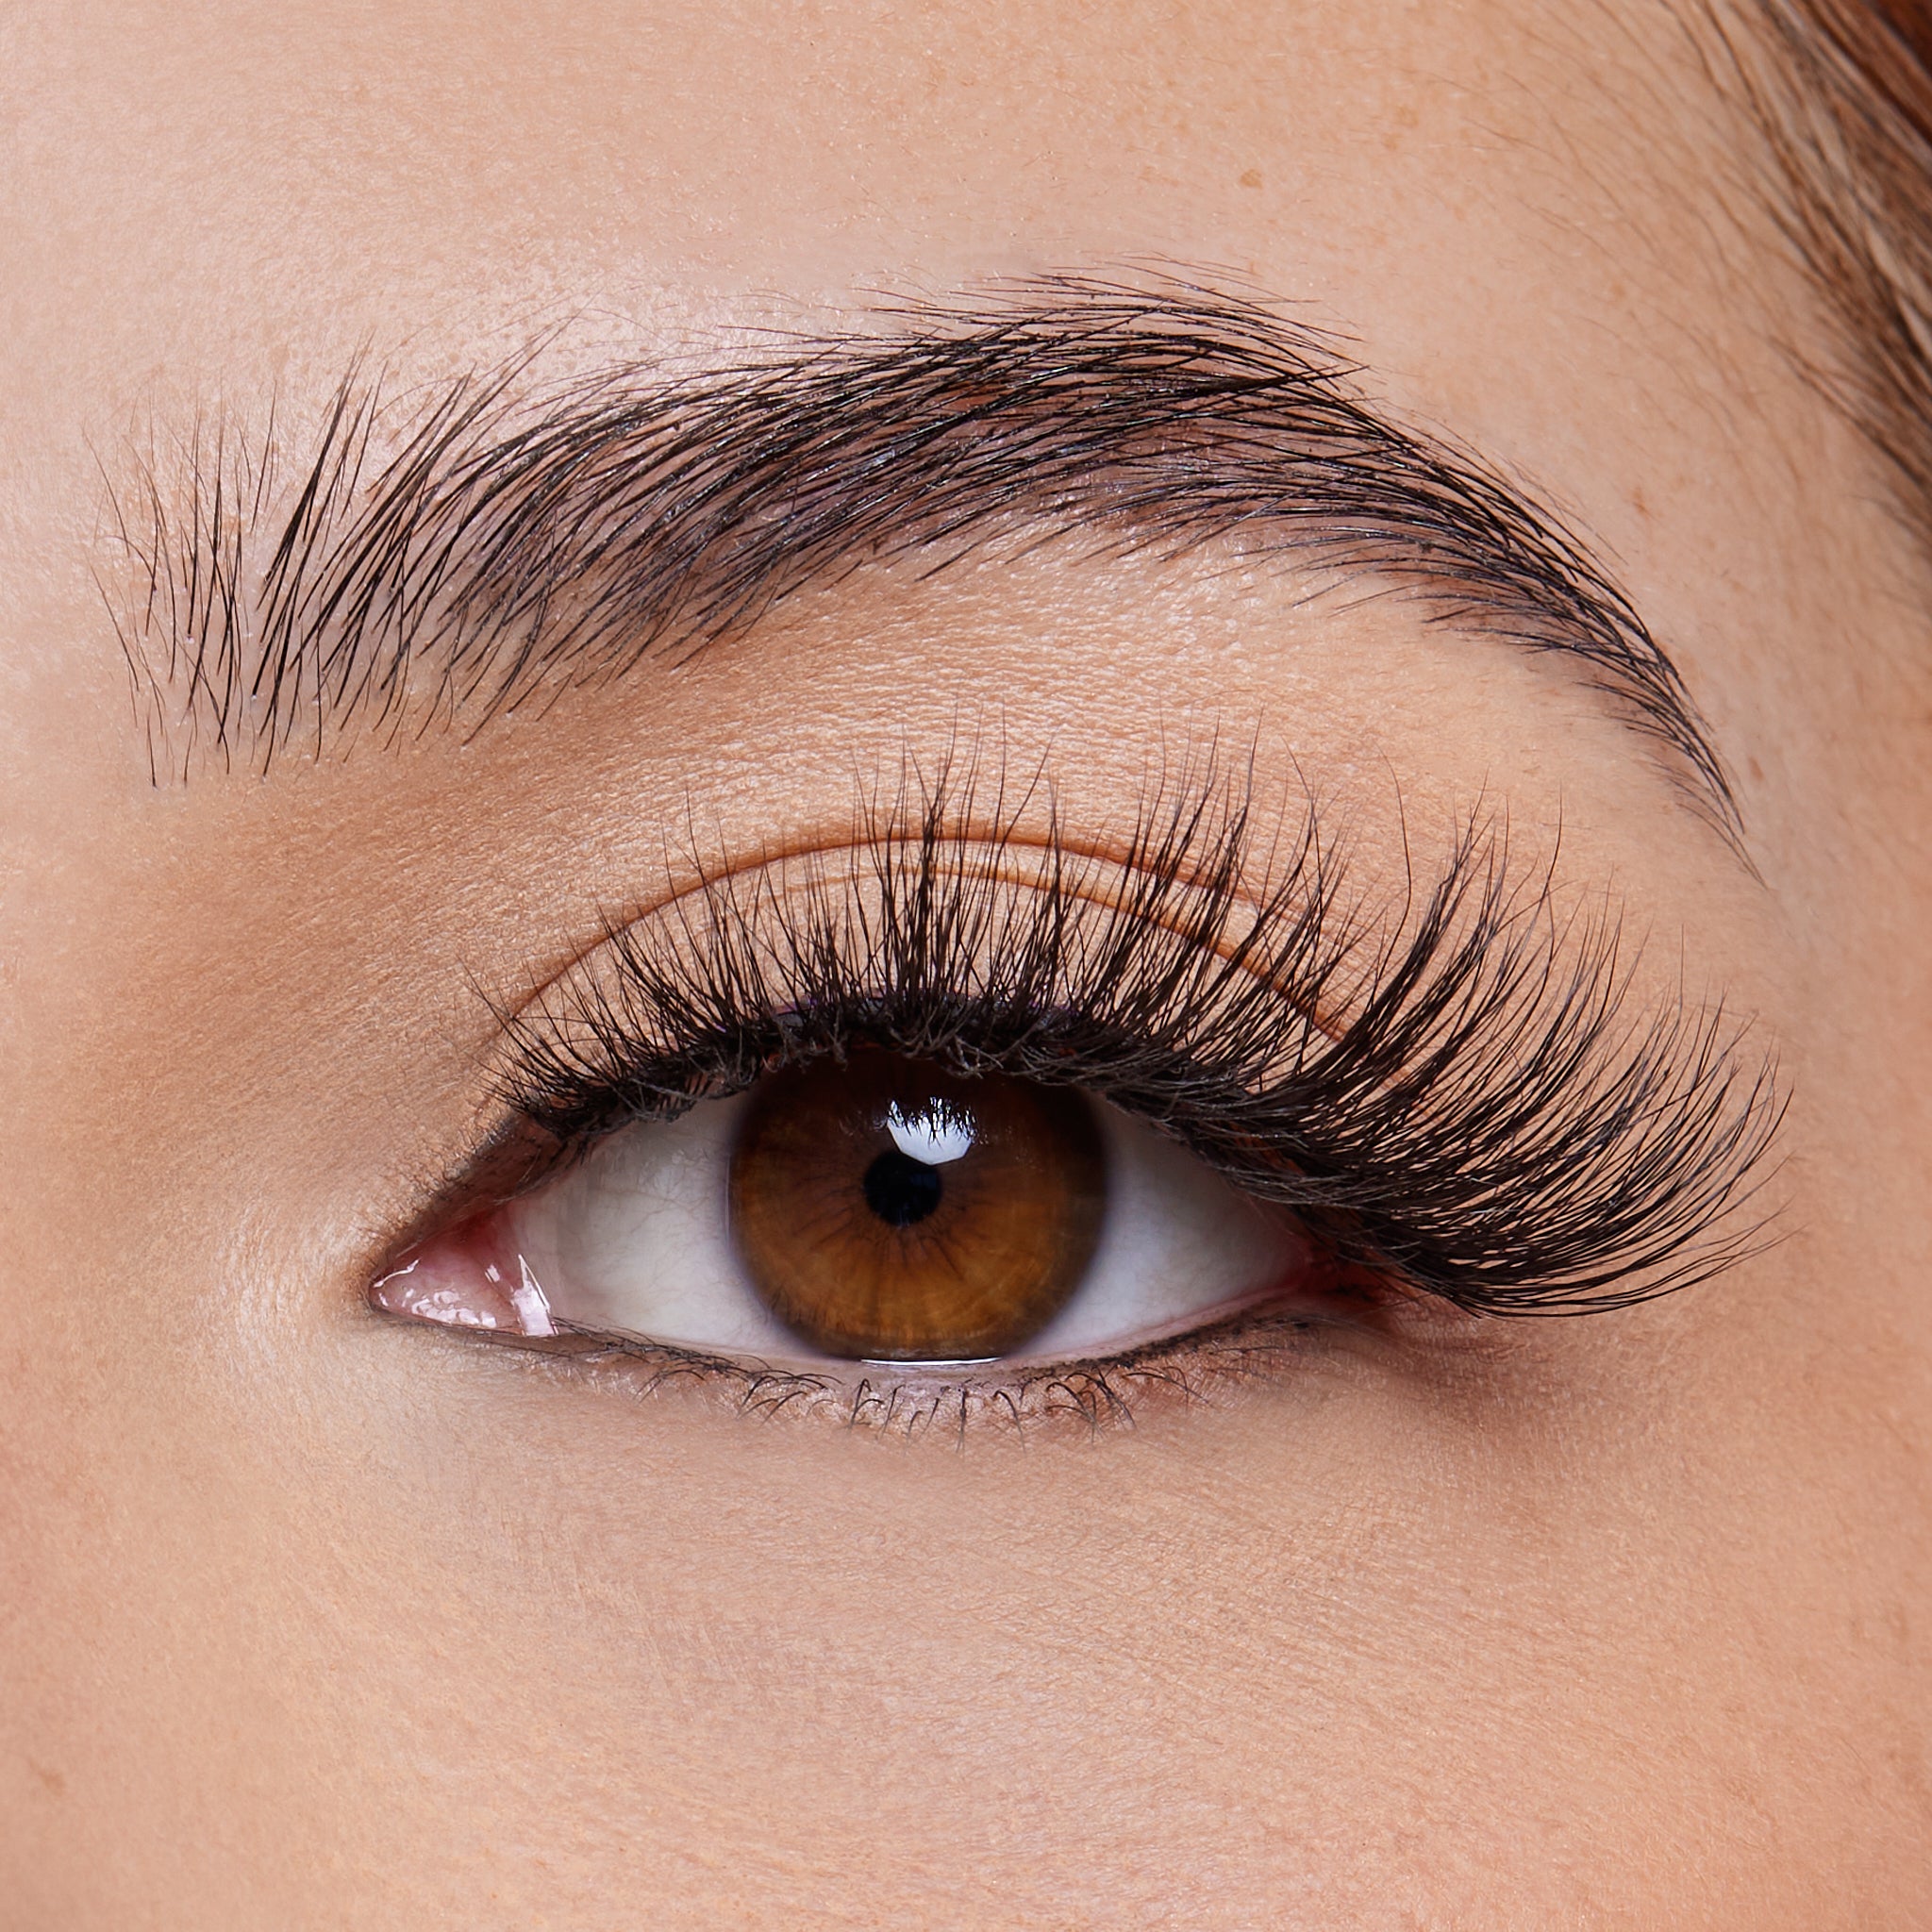
Reynosa Lashes bring full-volume drama with a wispy, eye-catching finish. Made with a soft cotton band for all-day comfort and designed to be reusable for multiple wears. Perfect for when you want your lashes to make the statement.
Details
-
Medium Length | Full Volume
-
Soft Cotton Band
-
Reusable
-
Vegan & Cruelty-free
Ingredients

Reynosa
- Regular price
-
$14 - Regular price
-
- Sale price
-
$14
What You'll Need:
- Reynosa Premium Lashes
- Eyelash adhesive (latex-free)
- Tweezers
- Mirror
- Makeup (optional; apply before attaching lashes)
Step-by-Step:
1. Prepare Your Natural Lashes : Make sure your lashes are clean and mascara-free. Apply any eye makeup before attaching false lashes.
2. Check the Fit: Hold the lash against your lash line to see if trimming is needed. If the band is too long, trim from the outer edge for a custom fit.
3. Apply Adhesive:
a. Squeeze a small amount of adhesive onto a clean surface
b. Let it become tacky for about 30 seconds (this helps it stick better)
c. Run a thin line along the lash band, focusing slightly more on the corners
4. Position the Lash:
a. Use tweezers to hold the lash by the band (not the lash hairs)
b. Place it as close to your natural lash line as possible
c. Start from the middle, then secure the inner corner, then the outer corner
5. Secure in Place:
a. Gently press the band down along your lash line
b. Pay special attention to the corners to prevent lifting
c. Use the end of your tweezers to press gently if needed
6. Blend Together:
a. If desired, gently curl your natural and false lashes together
b. A tiny bit of mascara can help blend them (water-based is best)
c. Tight-line with eyeliner to hide any visible band
7. Final Adjustments:
a. Check for comfort by blinking a few times
b. If any part feels loose, add a tiny dot of adhesive
c. Make sure both eyes look balanced and symmetrical
8. Removal Tips:
a. At the end of the day, gently loosen the band from the outer corner
b. Never pull or tug forcefully
c. Use oil-free makeup remover if needed


